A Wild Take on Pickled Cherry Blossoms: A Traditional Japanese Favorite
- The Cramlington Forager

- Apr 29, 2025
- 4 min read
Updated: Mar 5
Discover the Beauty of Cherry Blossoms
This recipe is a wild take on a traditional Japanese favorite. It takes a few days but results in a deliciously sweet and tangy flower. You can use this flower in various ways, each adding a unique element to your dishes.
Cherry blossoms are known around the world for their beauty. However, their most esteemed celebration occurs in Japan, where they herald the arrival of spring. Each spring, the cherry blossom flowers, or Sakura, bloom. People in Japan use them in different dishes, treats, and drinks during the Sakura season. While all cherry blossoms are edible, Japan predominantly uses the blossoms from ornamental trees. These trees produce no fruits and include over 200 varieties!
UK Cherry Trees and Their Delicate Blooms
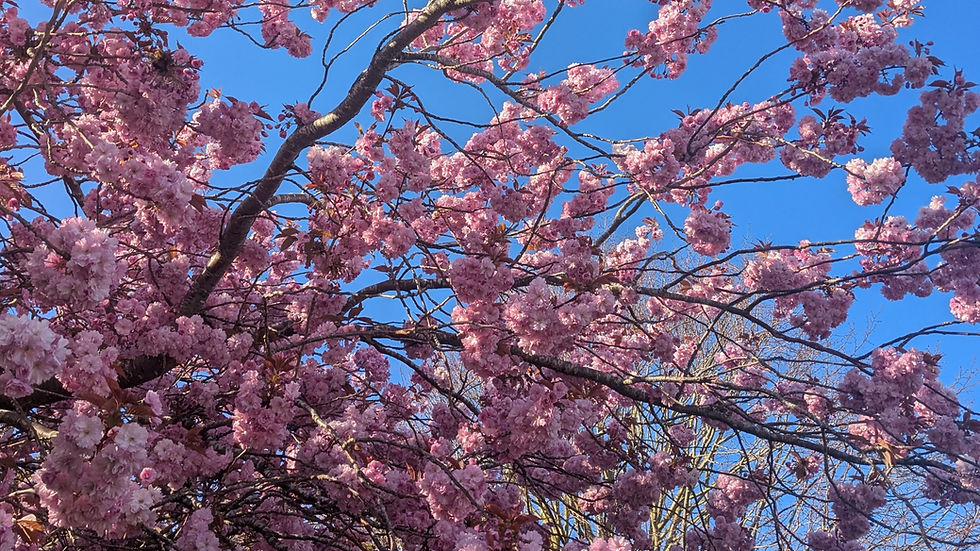
In the UK, our native cherry trees are the wild cherry (Prunus avium). Their blossoms are small and delicate with white petals. You can often spot the Japanese ornamental varieties in parks and green spaces. These trees display large, bright pink to white blossoms, making them easy to recognize.
Their fleeting beauty is noteworthy, as the blossoms fall almost as soon as they appear. Therefore, garden lovers cherish their time with these creations of nature. The opportunity to enjoy them as wild food is brief, but this only enhances their allure.
Gathering the Blossoms
We are lucky to have a few ornamental cherry trees nearby. Every spring, I marvel at their beauty. The blossoms of the Prunus Kanzan variety are deep pink, with a lot of petals. This abundance makes them easy to handle and very decorative.
For this recipe, gather the blossoms when the petals have not yet opened. They must be salted, pickled, and dried over the course of a week. Once dry, these blossoms can last for a few months when stored properly.

The Art of Pickling Cherry Blossoms
Traditionally, cherry blossoms are pickled using umezu, a by-product of making Japanese pickled plums (umeboshi). However, umezu can be tricky to locate in the UK. If you cannot find it, you can use rice wine vinegar instead. Be aware that this substitution will change the flavor of your pickled cherry blossoms significantly.
Umezu is naturally salty and tangy. If you prefer a milder version of your pickled cherry blossoms, opt for rice vinegar. You can also consider adding sugar for a sweeter flavor.
These blossoms can be used in various dishes. However, given their origins, they best suit Japanese cuisine. I created this recipe with the intention of using the blossoms to flavor onigiri. Onigiri are Japanese rice snacks shaped into triangles or balls.
They are also used to flavor rice, add decorative touches to dishes, flavor cakes and treats like mochi, and even make a special type of tea called Sakuracha.

The Week-Long Process
The gathering, salting, pickling, and drying process can take about a week. However, if you enjoy flavors from Japan or seek something new from wild food, it's worth taking the time to make.
The cherry blossom season lasts for around two weeks at the end of April. Thus, the chance to make pickled cherry blossoms only comes intermittently. They remind us of how fleeting the seasons, nature, and life can be — a fitting reminder that some processes cannot be rushed.

Pickled Cherry Blossoms Recipe
Ingredients
30 unopened cherry blossom buds, from ornamental varieties
Fine sea salt
150ml umezu or rice wine vinegar
Instructions
If necessary, wash your cherry blossom buds to remove dirt or debris. Pat them dry completely before proceeding.
In a glass container, sprinkle a layer of salt. Then add a layer of blossom buds, followed by another sprinkle of salt. Repeat until all blossoms are salted.
Seal the jar and refrigerate the salted buds for about three days. Gently shake the jar each day to ensure even salt distribution.
After three days, remove the blossoms from the fridge and rinse off the salt. Return the buds to the jar and cover them completely with umezu or rice vinegar. It's best to use a plastic lid to minimize rust. Store the jar in the fridge for another three days.
After three days, drain the blossoms, saving the umezu for later use. You may return it to the bottle and refrigerate it.
Gently reshape the blossoms with your fingertips, ensuring the petals lie flat. If you have a dehydrator, place them on one of the racks and set to dry for a couple of hours. Alternatively, lay them out in a cool, dry place for one or two days. The blossoms should not become brittle but should dry enough for preservation.
How to Use Your Pickled Cherry Blossoms
I specifically wanted to make these blossoms to add them to onigiri rice balls. Thus, I want to share these extra steps in case you'd like to give it a try too. Onigiri are a very popular snack in Japan, often made from seasoned short-grain rice shaped into triangles.
You can shape the rice via cupping both hands together or with a special mold. I recently purchased a mold and decided to test it out. If you're using your hands, remember to keep them wet to prevent sticking!

Cherry Blossom Onigiri Recipe
Ingredients
Pickled cherry blossoms
3 tbsp umezu
1 tbsp granulated sugar
1 cup sushi rice (approx. 200g)
2 cups of water (approx. 400ml)
Nori sheets (optional)
Instructions
Rinse the sushi rice until the water runs clear. Drain thoroughly. In a saucepan, add two cups of fresh water and bring to a boil with the lid on. Once boiling, lower the heat and simmer for ten minutes. Turn off the heat and let the rice sit, covered, for another ten minutes.
In a small container, combine umezu and sugar. Stir until the sugar dissolves. Pour this mixture over the rice and gently fold it to distribute evenly.
Finely chop the pickled cherry blossoms and fold them into the rice. Save a few whole blossoms for decoration.
Allow the rice to cool until comfortable to handle.
If using a mold, fill the base lightly with rice and compress it with the lid. Gently press out, wrapping a rectangle of nori around the base if desired.
If shaping by hand, dampen your hands to avoid sticking. Gather a handful of rice, cup your hand slightly, and rotate to shape the rice. Wrap a nori rectangle around the base if using.
Add a pickled cherry blossom on top for decoration.


Comments